
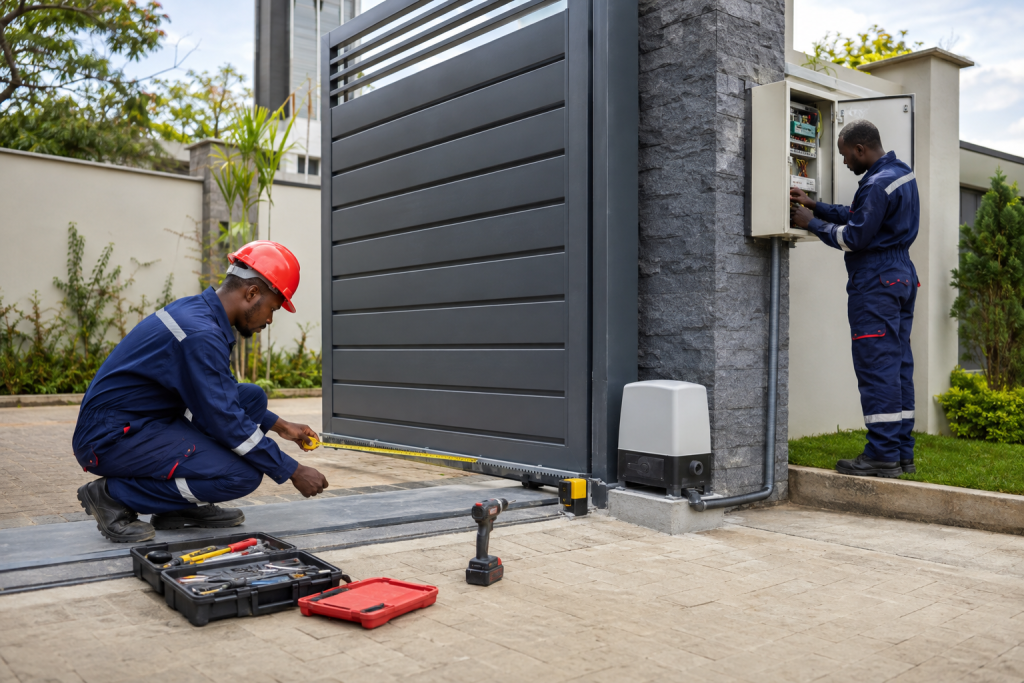
A professional automatic gate installation should turn a property entrance into a controlled, usable system—not simply attach a motor to an existing gate. The work begins with measurements and risk assessment, continues through mechanical and electrical preparation, and ends with documented testing and user handover.
Step 1: Define how the entrance must work
The installer needs to understand property type, daily traffic, busy periods, vehicle sizes, pedestrian movement, visitor handling and power conditions. A home, apartment, school and warehouse may use similar equipment categories but require very different duty cycles and access workflows.
Step 2: Survey the existing gate and structure
The gate should be tested manually through its full travel. The survey checks wheels or hinges, support posts, guides, stops, track, foundations, corrosion, distortion, opening clearance and drainage. Required repairs should be identified before the motor is selected.
For a new gate, fabrication and automation should be coordinated so mounting points, stiffness, balance and access for maintenance are designed together.
Step 3: Choose sliding or swing automation
A sliding gate needs side run-back space and reliable guidance. A swing gate needs a safe opening arc, suitable pillars and appropriate driveway slope. Compare the detailed sliding motor guide and swing automation guide.
Step 4: Size the drive system
Motor or actuator selection should account for gate mass, resistance, wind exposure, travel, gradient and duty cycle. The chosen system must also support the agreed safety inputs, access controls and backup arrangement. Universal “one size fits all” recommendations are a warning sign.
Step 5: Prepare mechanical and civil works
Work may include gate realignment, wheel or hinge replacement, track or rack correction, motor plinth construction, conduit routes, drainage and mounting brackets. The motor foundation must stay stable under repeated movement and local weather conditions. Moving components need appropriate clearance and protection.
Step 6: Install protected electrical and control wiring
Power and low-voltage control cabling should be routed and protected appropriately. The scope should define isolators, protection, earthing requirements, cable distance and responsibility for the supply point. Exposed temporary wiring should not become the permanent installation.
Step 7: Add safety and access devices
Photocells or other approved detectors, mechanical stops and control settings form part of the safety layer. Remotes, keypad, card reader, intercom or guard control are then connected according to the approved access workflow. Access control is not a substitute for gate safety; both must be commissioned.
Step 8: Commission the full system
Commissioning should test more than one successful opening. The installer should run repeated cycles and verify limits, stopping positions, obstacle response, leaf sequencing where applicable, manual release, backup operation, credential behavior and safe return after power restoration.
Step 9: Complete user handover
Users need clear instructions for normal operation, visitor access, lost remotes, cleaning, fault reporting, outage response and manual release. Property managers should receive the agreed equipment record and know which maintenance tasks require a competent technician.
Automatic gate installation checklist for buyers
- Site survey and measured gate details
- Named sliding or swing configuration
- Motor or actuator sizing basis
- Gate repairs and civil works
- Electrical supply and cable scope
- Safety devices and test plan
- Access devices and user quantities
- Backup and manual-release method
- Commissioning, training and maintenance guidance
Avoid these common shortcuts
Do not accept motor selection based only on gate width, installation on a gate that cannot move freely, missing physical stops, safety sensors aimed away from the real risk zone, an inaccessible manual release, or a quotation that hides required civil and electrical work. These shortcuts can increase faults and create operational risk.
Frequently asked questions
How long does installation take?
Timing depends on gate condition, civil works, electrical availability, equipment and access-control scope. A site survey is required before a credible programme can be given.
Can automation be added to an old gate?
It may be possible after structural and mechanical inspection. Repairs or replacement can be more appropriate when the gate is badly distorted, corroded or unsupported.
What should happen during a power outage?
The agreed design may use battery backup, another supported continuity option and a controlled manual release. Users should be trained before handover.
Get an installation scope based on your entrance
Start with the national Gate Automation Kenya overview. Then request an automatic gate installation survey from ZES with your location, gate photos, measurements and expected traffic.