
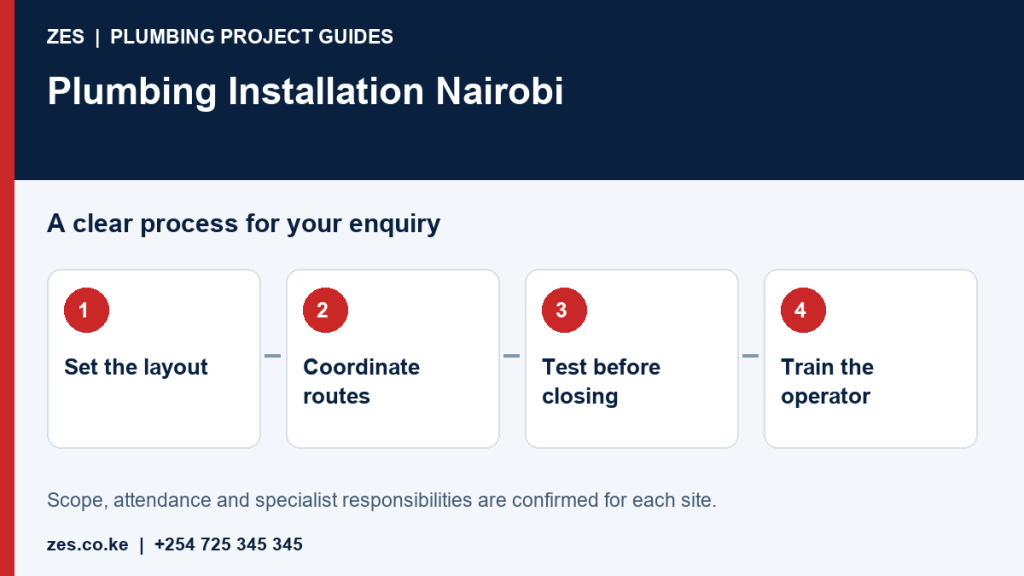
Plumbing installation in Nairobi is easier to manage while room layouts, routes and construction responsibilities can still be coordinated. Late changes to bathrooms, kitchens, tanks or pumps can cause avoidable opening and reinstatement of finished work. The objective is a complete water and drainage arrangement that can be tested, serviced and understood after handover. This guide helps homeowners and construction teams organise the sequence. Share your layout and project stage with ZES to discuss the proposed installation scope.
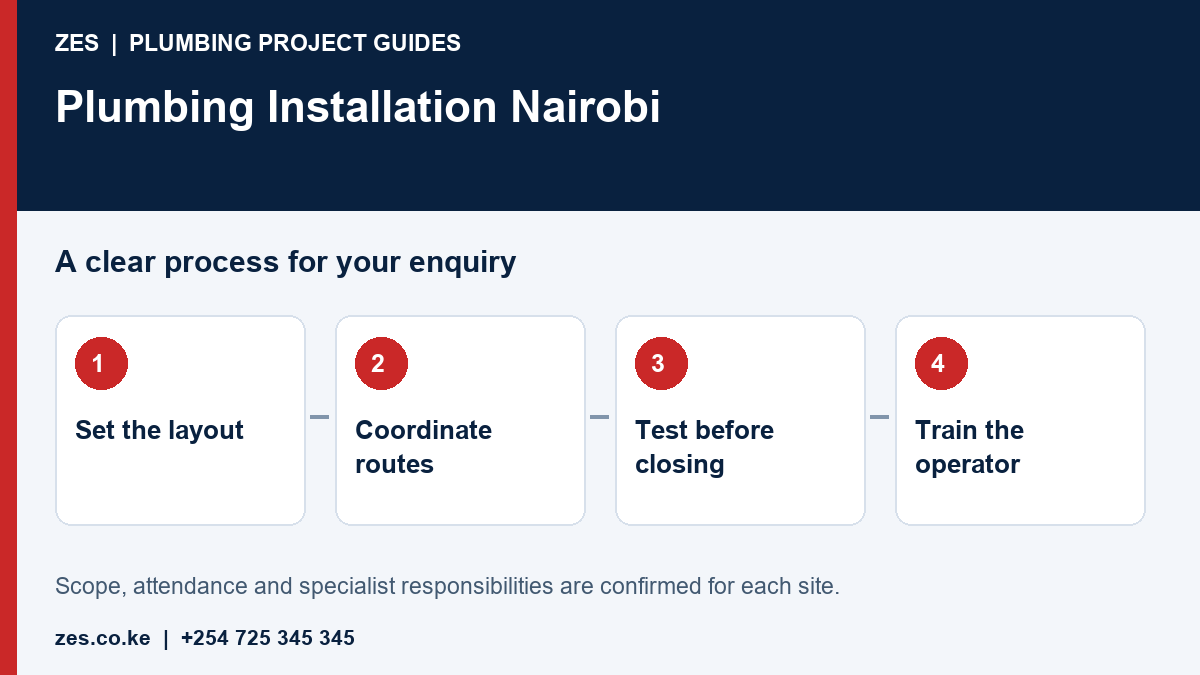
Set the fixture requirements early
List bathrooms, kitchens, laundry points, outdoor outlets and equipment requiring connections. Confirm locations and selected models where available. A shower, washing machine and commercial appliance may have different supply and waste requirements. Identify likely future additions. The appointed designer should coordinate demand and drainage with the building layout. If requirements change, assess the effects on routes, levels, quantities and programme before installation. A controlled fixture schedule gives the design and procurement teams a common reference instead of several conflicting versions of the building brief.
Coordinate routes and access
Review risers, ducts, penetrations and access panels with architectural and structural teams. Approved structure, waterproofing and maintenance access must inform the route. Do not cut a load-bearing element to solve an unapproved late change. Allocate sleeves, chases and reinstatement. Establish drainage levels and the connection point before installation begins. Useful drawings show an installation that can be built and serviced, rather than only lines joining fixtures. Keep important valves accessible after cupboards, ceilings and finishes are complete.
Connect storage, pressure and pumping decisions
Document the source, supply reliability, tank location, building height and use pattern. Gravity distribution, boosting or different zones may be needed according to design. Pump choice should follow demand and head requirements. Tank capacity should follow use and resilience needs, with suitable assessment of support loads. Electrical supply and controls need competent coordination. Treat these decisions as a connected system. Choosing fixtures first and considering supply last can leave a finished bathroom that does not perform under the intended operating conditions.
Control installation quality before concealment
Protect open pipes from debris and store materials according to manufacturer instructions. Agree the pipe system and compatible fittings. Review supports, movement allowance, penetrations and valve access during installation. Keep approved substitutions on record. Inspect concealed work before finishes close. If routes change, update the record promptly and take useful photographs. The ability to locate a joint or valve later depends on that evidence. Appearance after tiling provides limited information about the condition and arrangement of the work behind it.
Test by zone and stage
Arrange the specified water supply, drainage and operational checks while access remains practical. Use an agreed method appropriate to the installed materials. Document defects and repeat checks before handing areas to finishing trades. At commissioning, demonstrate fixtures and controls under the defined conditions. Record outstanding items with a responsible person and completion date. Coordinate supply and disposal for testing. A staged record helps supervisors trace results to each area and avoids relying on one general statement that the whole building was tested at the end.
Prepare the operator for occupation
Provide as-built routes, accessible isolation information, component details and instructions for included equipment. Explain permitted caretaker observations and when a technician is required. Keep commissioning records and written warranty arrangements together. If occupation is phased, identify who protects and maintains incomplete sections. The owner should know whom to contact and which information to provide when a fault occurs. A practical handover allows safe identification of affected zones and supports later alteration without unnecessary disruption to completed rooms.
Information to include in your project brief
- Building layout and fixture schedule
- Source, storage and pressure basis
- Service routes and access panels
- Construction stage and occupation date
Frequently asked questions
When should installation planning begin?
During building design coordination, before routes, structural openings and finishes are fixed.
Can bathroom locations change later?
Changes need review of drainage levels, structure, routes, cost and programme before approval.
Are tanks and pump controls included?
Only where specified. Identify tank supply, support, connections, controls, electrical work and commissioning in the quotation.
Related plumbing planning guides
- Emergency Plumber Nairobi: Safe Reporting and Urgent Repair Planning
- Commercial Plumbing Contractors Kenya: A Business Continuity and Procurement Guide
Discuss your plumbing requirement with ZES
Share the location, property use, symptoms or proposed work, and available drawings or photographs. ZES will review the information and confirm the suitable scope, any assessment arrangements and current attendance availability. Materials, responsibilities, programme and applicable terms are agreed in the written quotation.
Explore ZES plumbing services · Request a plumbing quotation · Call +254 725 345 345